How To Roast a Pig’s Head
Did you know that when you roast a pig’s head, you get the meat, bones and fat for a fraction of the price? Since I only buy organic/pasture-raised meat and bones, it can get expensive. Buying cheaper cuts can save you a lot — 50% or more.
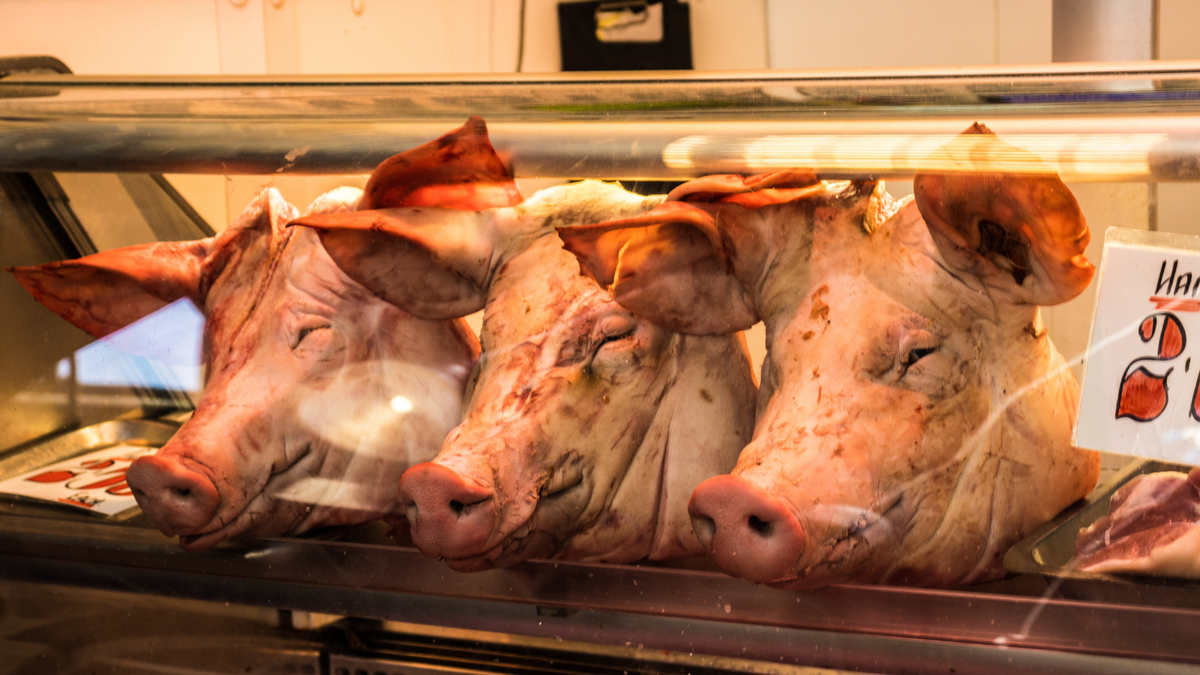
Did you know that when you roast a pig’s head, you get the meat, bones and fat for a fraction of the price? Since I only buy organic/pasture-raised meat and bones, it can get expensive. Buying cheaper cuts can save you a lot — 50% or more.
In this post I share all the steps for buying and roasting a pig’s head, and show you how to make broth from the bones and render the fat for lard. I got 3.5 pounds of meat, a whopping 5 gallons of broth, and a pint of lard from a single pig’s head.
Scroll down to see all the steps with photos.
Jump down for the financial breakdown (what it cost).
Jump down for the printable recipe.
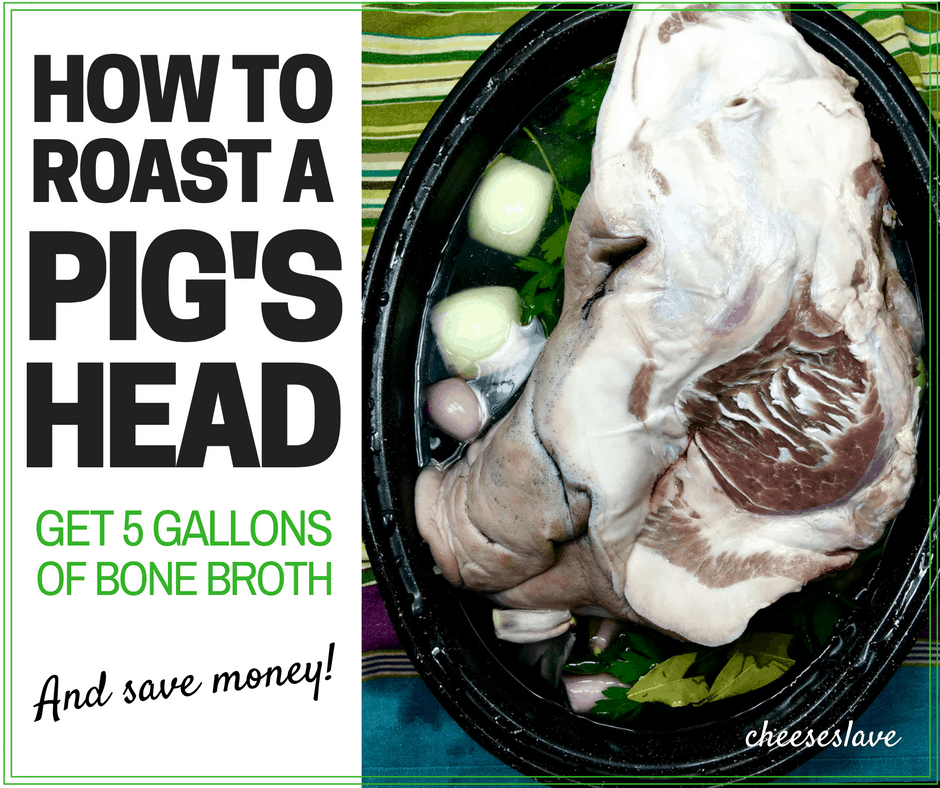
How To Roast a Pig’s Head: Shopping for a Pig’s Head
It’s critical to look for organic and/or at least non-GMO and pastured pork when buying a pig’s head. If your farmer is not certified organic, that’s OK, but make sure he or she is not feeding the animals GMO (genetically modified) feed. As long as the feed is non-GMO, the organic certification is not necessary.
Why do we want to buy organic/non-GMO pork? Because pesticides are stored in the fat and fluoride is stored in the bones of animals (including humans). When we eat non-organic pig fat, we are consuming pesticides which are then stored in our fat. When we eat broth made from the bones of non-organic animals, the fluoride from their bones is then stored in our bones (and our glands, such as the thyroid, breasts, ovaries, and for men, the prostate). If you haven’t read my posts about fluoride, check out Dangers of Fluoride and The End of Acne Book Review.
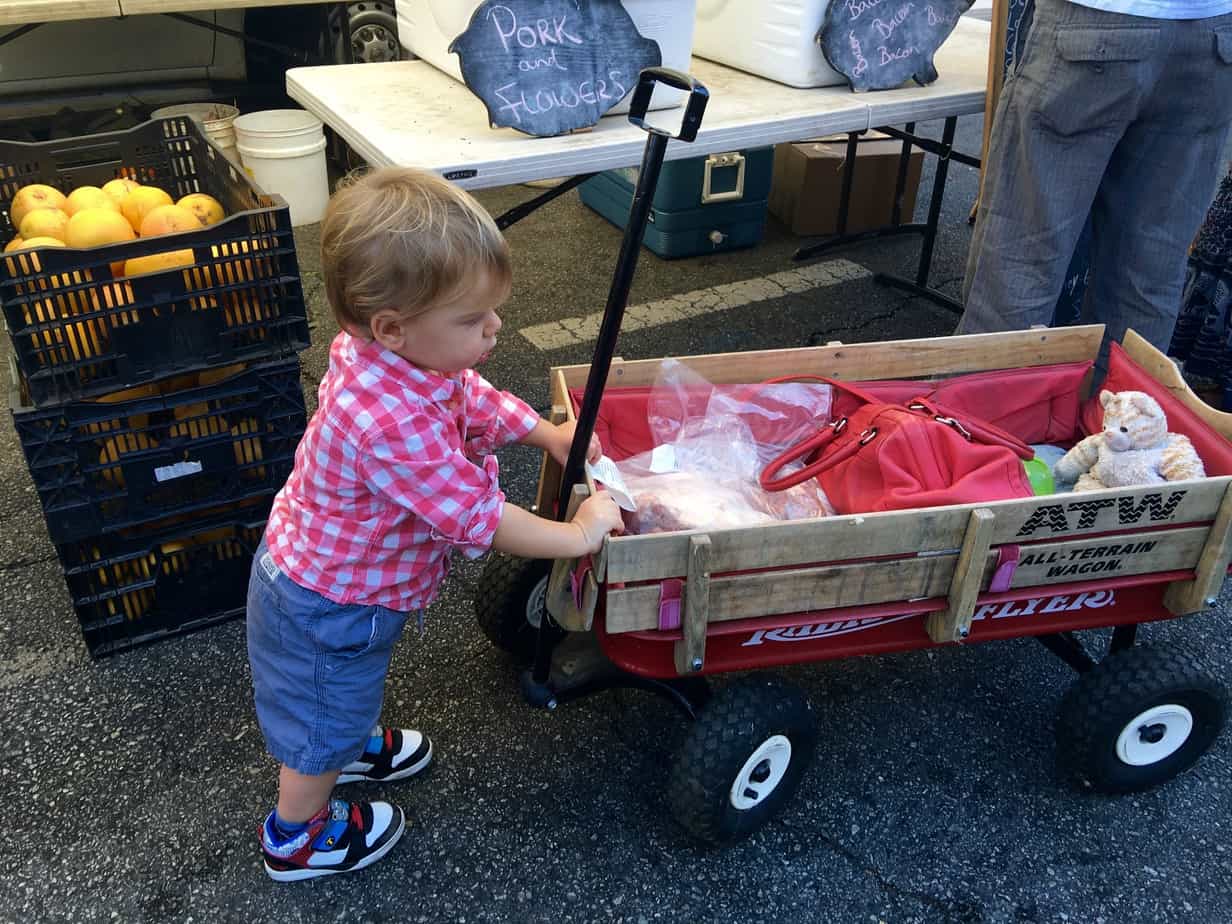
The best place to find non-GMO pastured pork is at local farms. You can often find these farmers at your local farmer’s market.
I got my pastured non-GMO pig’s head from the Santa Monica farmer’s market — from Peads and Barnetts. Here’s a great post about Peads and Barnetts with pictures of their farm. If you’re in Southern California, you gotta get some of this pork! I’ve bought a number of cuts from them… from baby back ribs to breakfast sausage to bacon. Hands down, the best pork I’ve ever had in my life.
If you don’t know where to find a local farm that has pastured pork, try the Eat Wild directory. Many farmers will ship.

Jump down for the financial breakdown (what it cost).
How To Roast a Pig’s Head: What It Cost
I only paid $36 for the head. Peads and Barnetts gave it to me at a discounted price since he sold it to me with the ears missing, and with the cheeks separate (the processor cuts the cheeks off at this particular farm so they can sell them).
The total weight (with the cheeks included) was about 16 pounds, so it cost me around $2.25 per pound. This is dirt cheap for pastured pork and pork bones, when you consider that one of the cheapest cuts Peads and Barnett’s sells is $5 per pound for the heart. The bones cost $4 per pound.

How To Roast a Pig’s Head: Prepping the Pig’s Head
I recommend that you do this part in private. Rope off your kitchen if you must. You definitely do not want unsuspecting family members wandering in while you are prepping the pig’s head. As my 9-year-old daughter said once, as she shielded her eyes from the view, “Mom, you really should use crime scene tape when you do this.”

Removing Hair
This may not be necessary. My pig’s head came totally hairless this time so I didn’t have to do this. However, the one I got last year from a different farm had a bit of stubble. So you may need to get a razor and give your pig a shave. There shouldn’t be much to shave off — just a little cleanup.
Removing the Jowls
If you want to cut off the jowls or cheeks, you can cure them to make guanciale. Pig jowls are one of the very best cuts on the pig. Chef Mario Batali is always waxing on about guanciale (pronounced gwan-CHAH-leh). It means “pillow” in Italian and it is way, way better than bacon.
As I mentioned, my head came with the cheeks removed. I got them separately — they are still in my freezer — and yes, I am gonna make guanciale… stay tuned for that recipe.
You don’t have to remove the cheeks — you can leave them on if you don’t feel like messing with it.
Cutting the Pig’s Ears Off
If your pig’s head comes with the ears on, you will need to use a large chef’s knife or cleaver to remove them. As I said above, I didn’t get any with my head this time. You can put them in a freezer bag and store in your chest freezer for later. Chef Fergus Henderson has a recipe for Sorrel, Chicory and Crispy Pig Ear Salad in his excellent nose-to-tail cookbook, The Whole Beast: Nose to Tail Eating. (I own a copy that Chef Fergus autographed for me.)
You can find other recipes for pig’s ears online.
How To Roast a Pig’s Head: Roasting the Pig’s Head
Preheat the oven.
Set the pig’s head in a very large stainless steel, enameled cast iron, or granite ware roasting pan. Do not use a Teflon or non-stick roasting pan, as this adds fluoride to your food.
My roasting pan is graniteware and I love it. It was extremely cheap (only $12!) and it’s super light, so it makes roasting turkeys and pig’s heads easy. You can get one on Amazon.
Add water (spring water or water filtered for fluoride) to the pan about halfway up the side, then add wine, onion, shallots, garlic, and herbs.
Cover as best you can (my lid barely fit on top), and roast in the oven for about 6 hours.
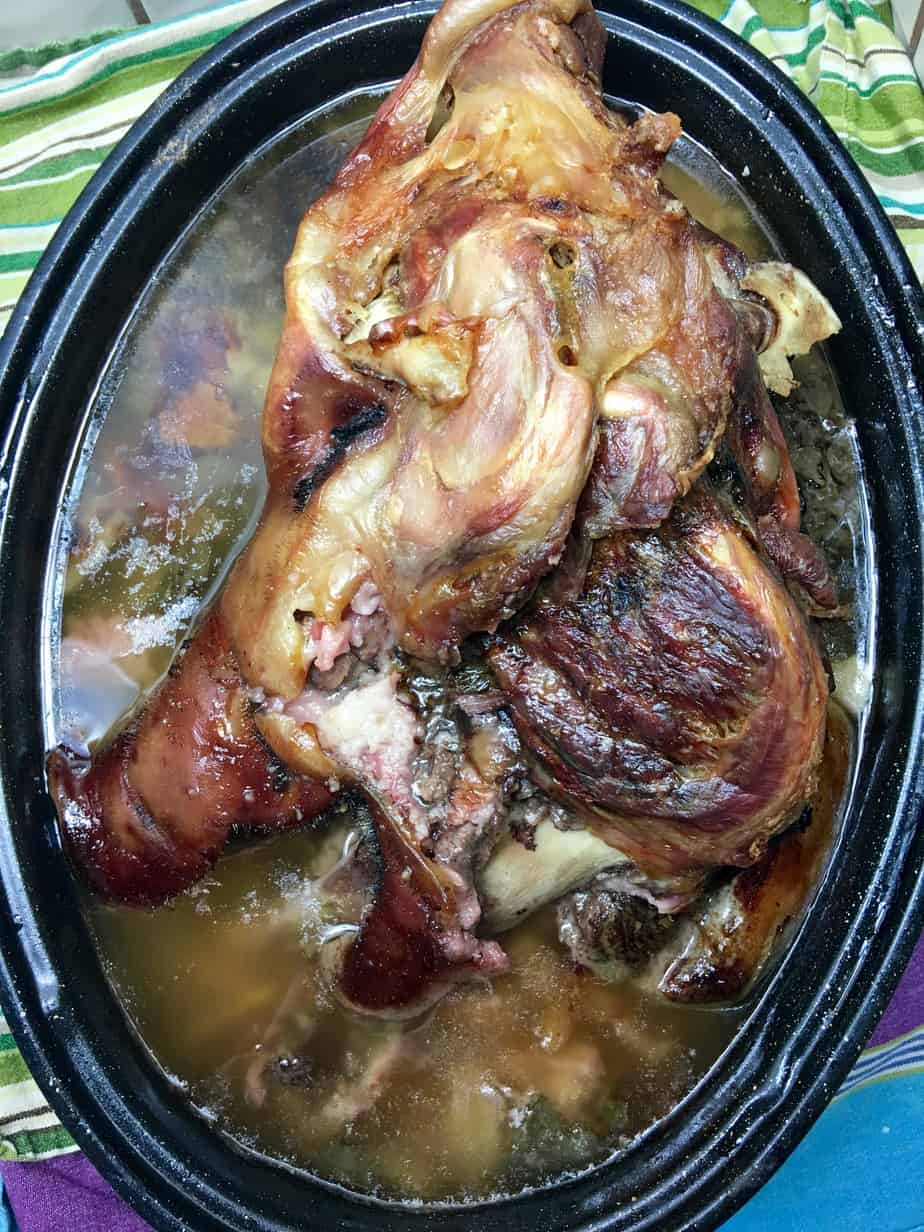
How To Roast a Pig’s Head: Separating the Meat, Fat and Bones
Okay, so I’ll be honest. I had to pour myself a glass of wine to complete this part. I’m pretty seasoned for a home cook… this isn’t my first rodeo with a pig’s head. I’ve also roasted a rabbit. (I served it to my daughter and told her it was chicken. She still hasn’t forgiven me for that.)
But this part is a little easier with wine. Now I know why Julia Child always drank wine while she cooked. 🙂
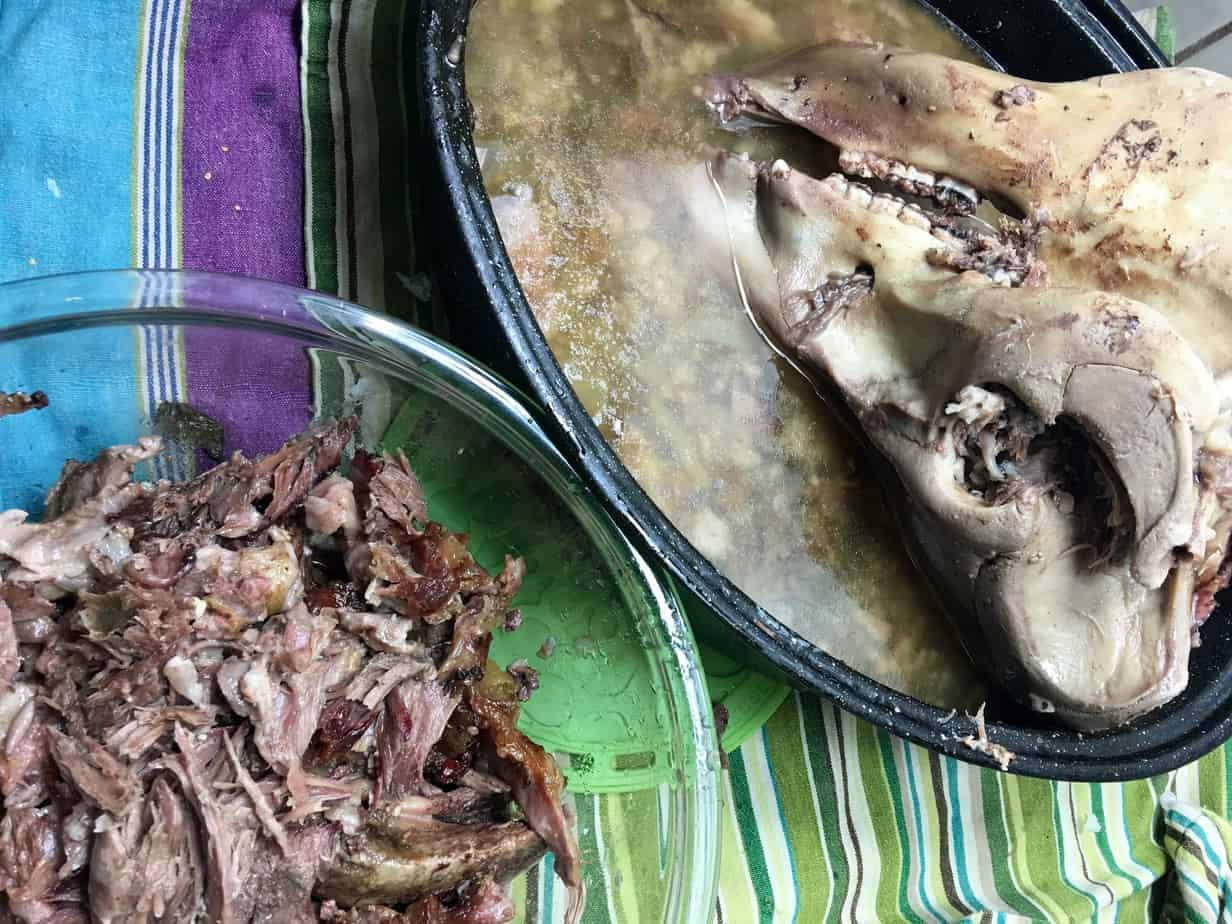
After the pig’s head is roasted, let it cool for a while and then separate the usable meat into a bowl. Put the skin, bones, and unusable (nasty looking) meat (for example, meat that still has whiskers on it), back into the roaster.
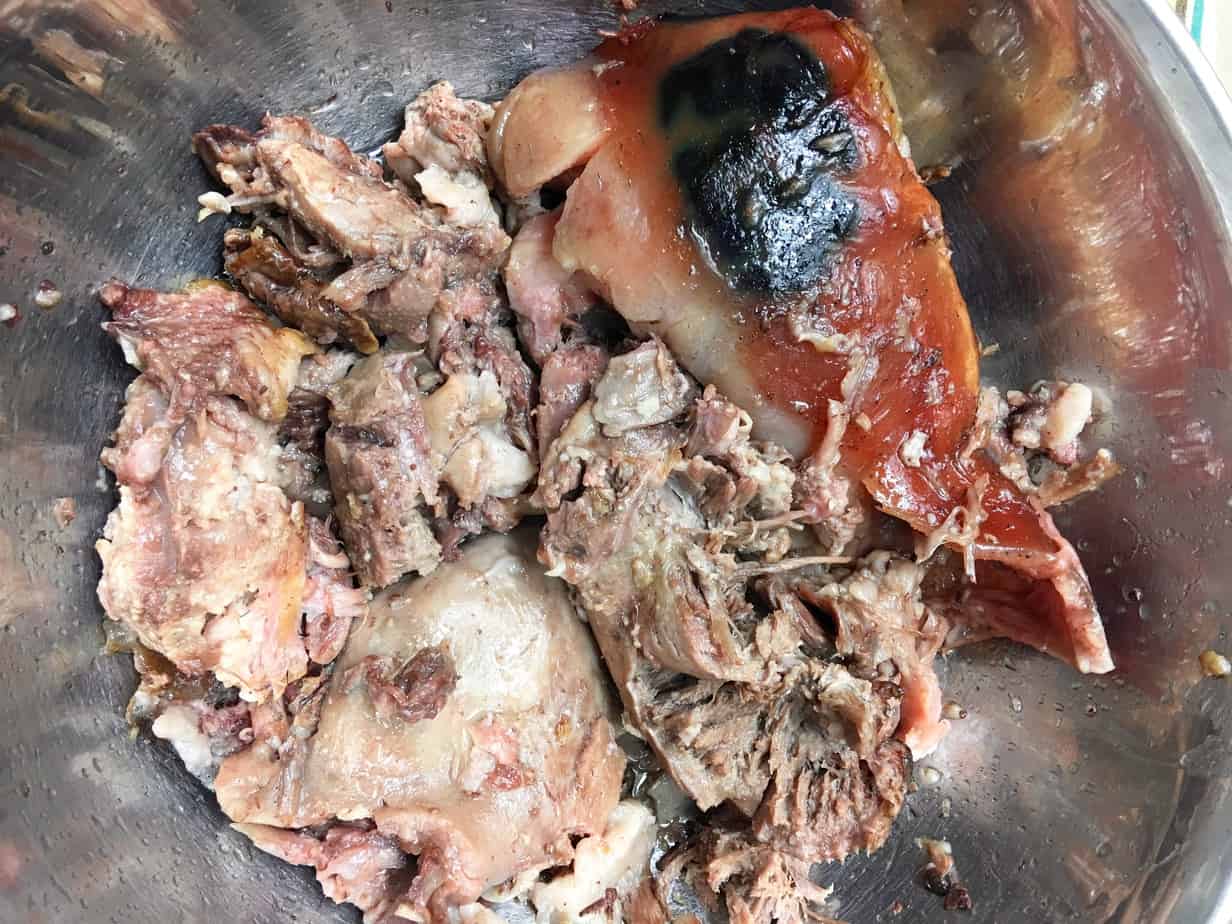
This is what the unusable parts look like. It’s skin, fat, and whiskery meat.
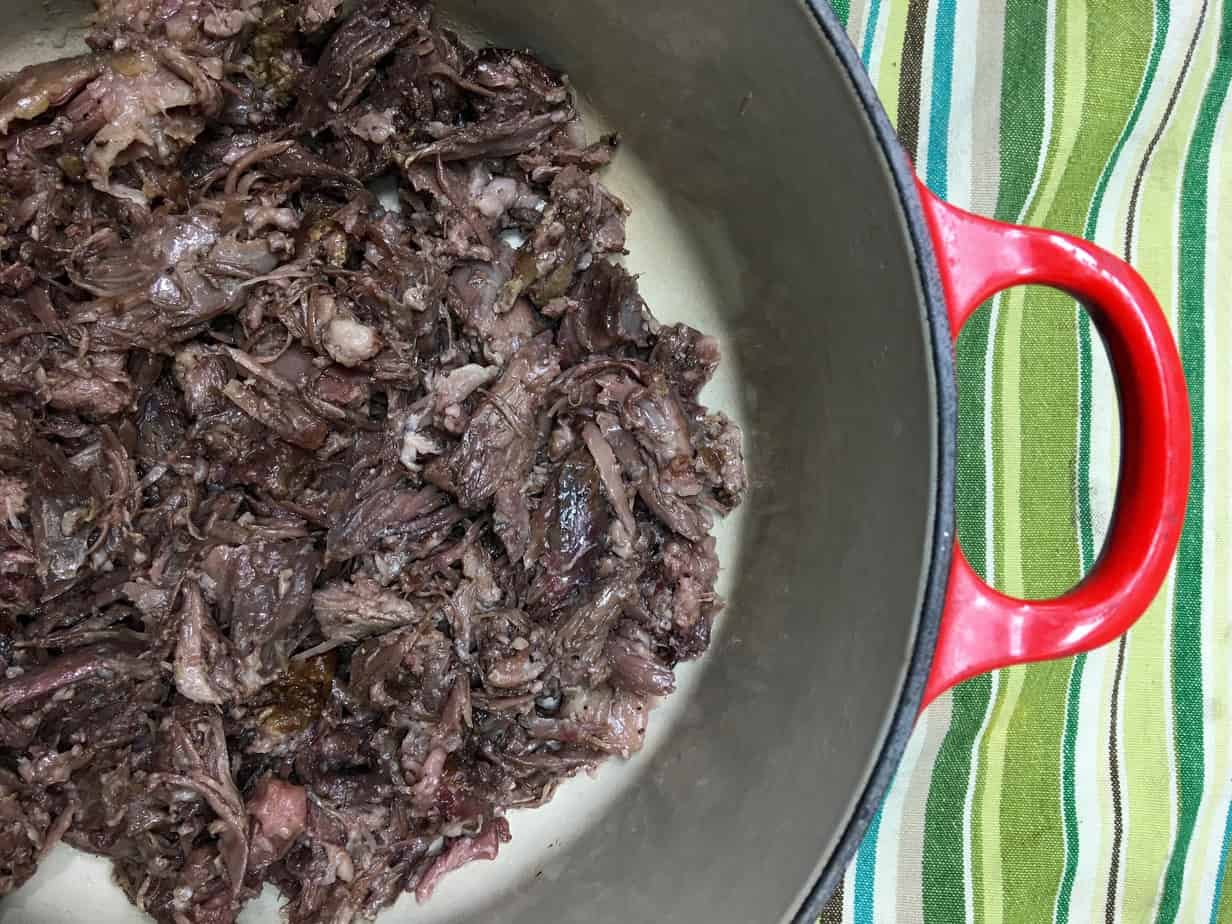
I transferred the meat into a Dutch oven to keep it warm on the stove. I served the meat that evening for dinner as carnitas tacos. Just steamed up some tortillas and served with fresh homemade salsa, guacamole, grated cheese, and sour cream.
You could also use the meat to make enchiladas, tamales, flautas, burritos, nachos (yes, we like Mexican food around here) or a spaghetti sauce, risotto, lasagne, or use it in a soup or stew or casserole.
How To Roast a Pig’s Head: How to Make Bone Broth and Render Lard
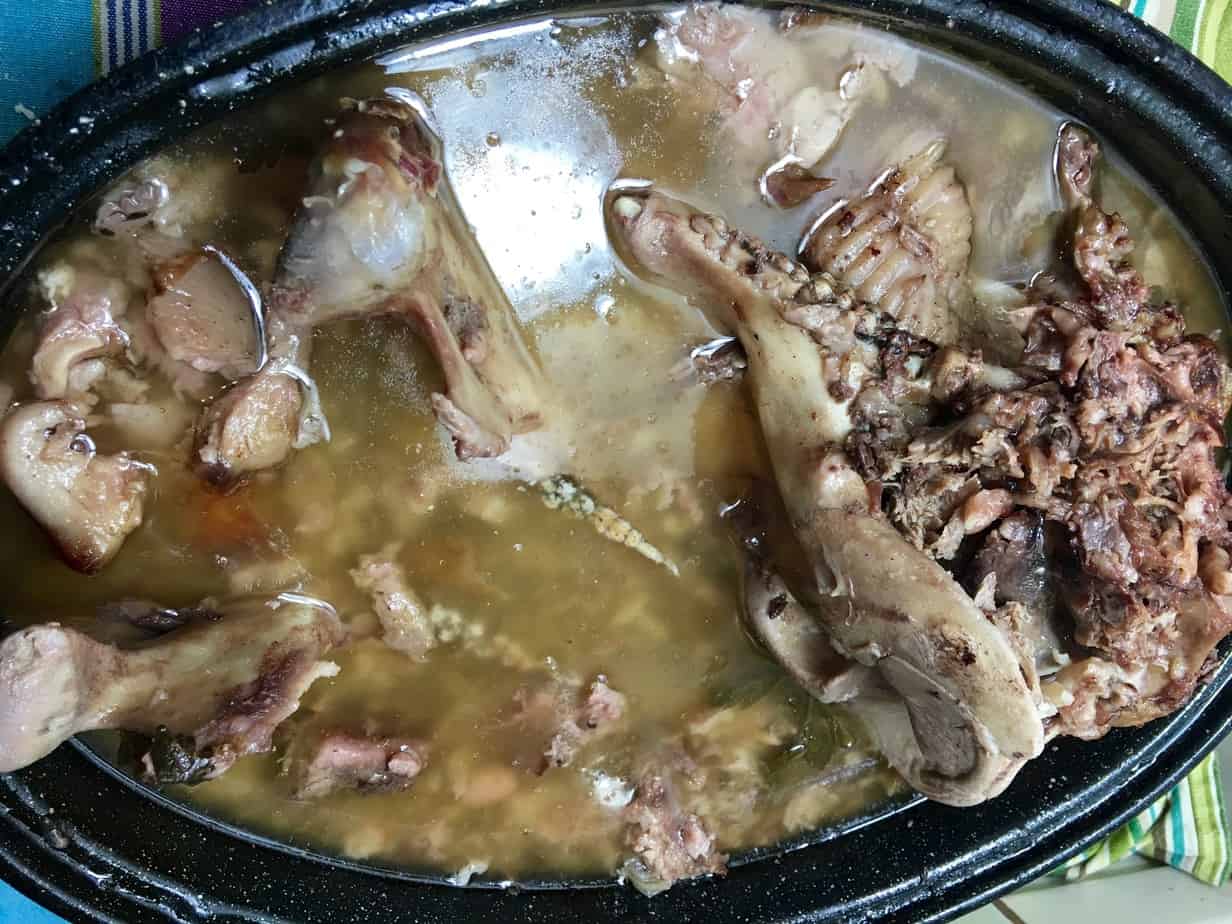
I took the bones and fat and the unusable meat and put it back in the roasting pan. I filled it with filtered water, covered it, and set it on simmer on the back burner. At that point, I was able to break the jaw off the skull so the bones fit into the pan better and I could mostly cover them with water.
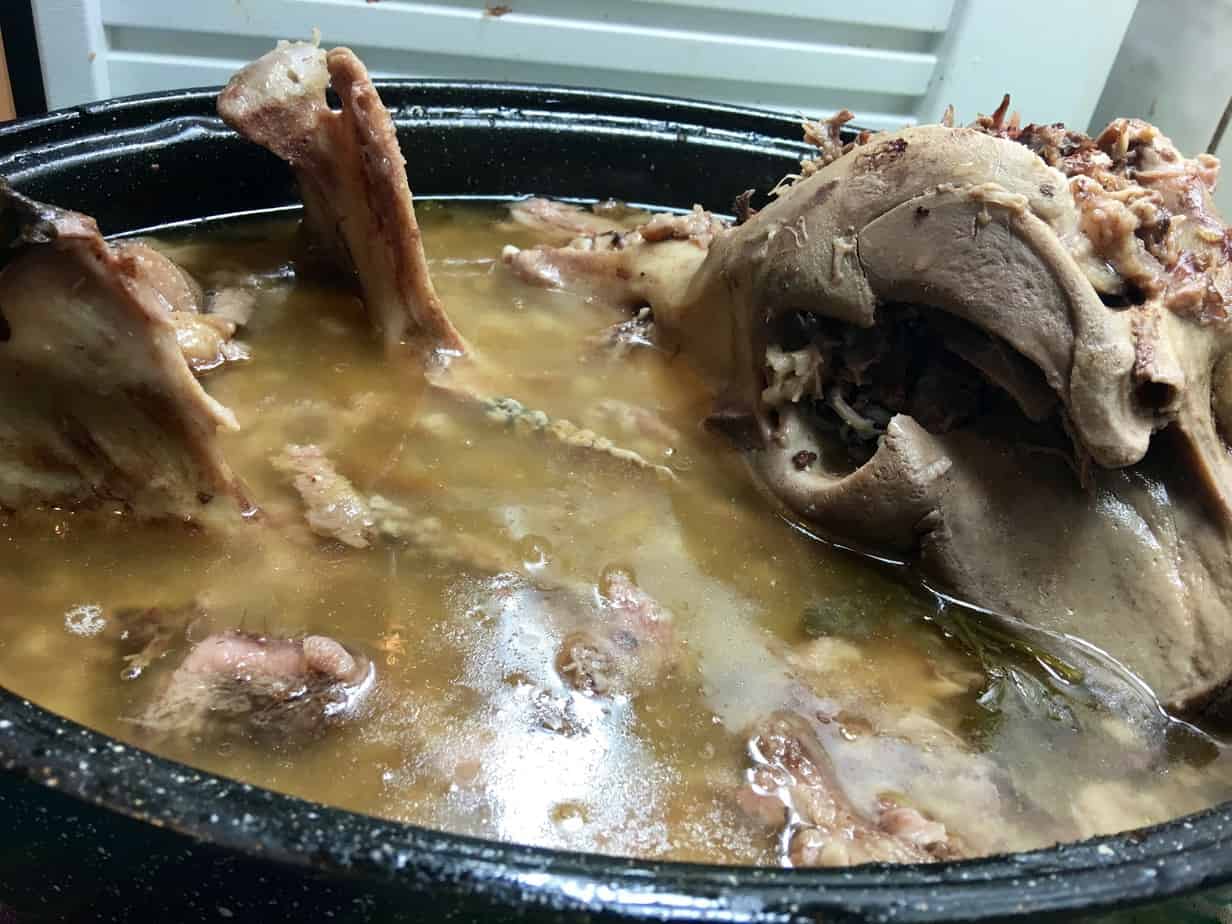
It took 3 days of simmering for all the bones to fall apart. I had to add filtered water every so often. The broth was super concentrated so I knew I’d have to add water at the end.
Here’s how I figured out how much water to add: I started with a 16 pound pig head, minus the 3.5 pounds of usable meat… that meant I had 12.5 pounds of solid stuff in the roasting pan to use for broth. When I make my pressure cooker bone broth, I normally use 2-3 pounds of bones which yields 4 quarts of broth. So I divided 12.5 pounds of bones by 2.5 which equals 5. 5 x 4 quarts = 20 quarts, or 5 gallons.
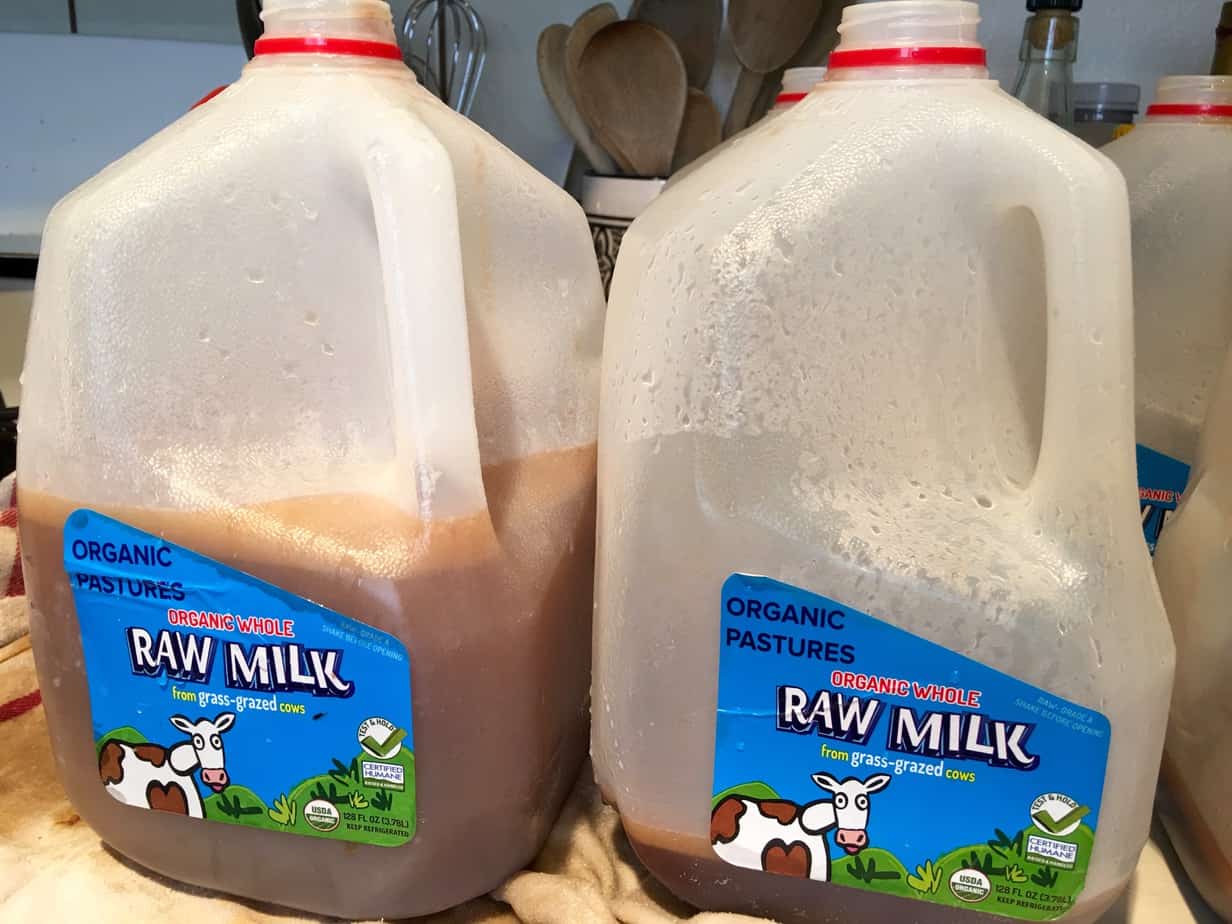
When the bone broth was done simmering, I divided it evenly among 5 milk jugs (gallon-sized). Then we added enough filtered water to fill up all the jugs. This was just to measure it.
We then poured it into quart-sized mason jars. I suppose we could have also just poured it into 20 quart size mason jars, but I think I didn’t have enough jars at the time. (Isn’t that always the way — we never have enough mason jars!)
I saved the leftover meat and bones and put them in the food processor to make cat food (I’ll post that recipe soon).

I put the strained bone broth in the fridge overnight. Then next morning, I used a spoon to scrape off the fat caps that congealed at the top. I simmered the fat on low to cook off the broth and then stored it in the freezer to use later (I got about a pint).
I then poured the broth into ice cube trays, froze them in the chest freezer, then popped out the cubes and stored them in freezer bags. This is a great way to store 1-ounce cubes of broth — easy to measure for recipes.
Pin This Post

Comments ()