Pressure Cooker Bone Broth
Pressure Cooker Bone Broth is the fastest and easiest way to make bone broth. What used to take me anywhere from 1-3 days now takes me only a few hours. I know, right?! This recipe is so easy and so fast, you will never go back to buying store-bought bone broth again.

Pressure Cooker Bone Broth is the fastest and easiest way to make bone broth. What used to take me anywhere from 1-3 days now takes me only a few hours. I know, right?! This recipe is so easy and so fast, you will never go back to buying store-bought bone broth again.
Jump down to the printable recipe below.
Why Pressure Cooker Bone Broth?
I use bone broth for soups, stews, chili, gravy and sauces, enchiladas, chicken pot pies, brisket tacos, chicken and dumplings, cottage pie, risotto, and so much more. I cook my rice and beans in bone broth. I even bathe in bone broth. Ha ha — just kidding.
Bone broth is very rich in nutrients, gut-healing, skin-firming gelatin (also known as collagen), amino acids and trace minerals. It helps extend the protein in your food — so if you’re eating less meat, you’ll be getting more protein.
The other reason to use more bone broth in your cooking is because it gives your food so much more flavor. Umami is the word for savory flavor, and it’s the thing that puts a dish over the edge in terms of sheer yumminess.
Bone Broth: Homemade Is Best
Pressure cooker bone broth is so much better than store-bought bone broth. Why? Most store-bought bone broths are most likely made with water that is not filtered, so who knows what chemicals they have in them? Fluoride is one of the worst offenders. Even if you’re buying organic chicken broth, you’re most likely getting fluoride and other chemicals from the water they use.
Also, store-bought bone broth does not contain as many nutrients. Store-bought bone broth is simmered for a very short time. If you want to extract all the nutrients from bones, it’s best to do a long simmer — for anywhere from 8-48 hours. The bigger the bones, the longer the simmer. This is why, throughout history, chefs have always let their broth simmer on the back burner. Of course, with the pressure cooker, you can do this in a fraction of the time.
Finally, store-bought bone broth is a LOT more expensive. Why buy bone broth when you can make pressure cooker bone broth from leftover (free) bones from meals you have cooked… it costs almost nothing!
Pressure Cooker Bone Broth: How to Make It
Jump down to the printable recipe below.
What Kinds of Bones to Use
I used to be picky about using beef bones to make beef stock and chicken bones to make chicken stock… but then I realized that is just too fussy and a waste of time and effort.
I also used to buy my bones… chicken necks, chicken feet, beef and marrow bones, and so on. When I first started making broth almost a decade ago, it was easy to find bones. They always had organic chicken necks and feet at Whole Foods.
But lately, since bone broth has become trendy, they never seem to have bones. And the organic grass-fed/free-range bones at the farmer’s market are so expensive.
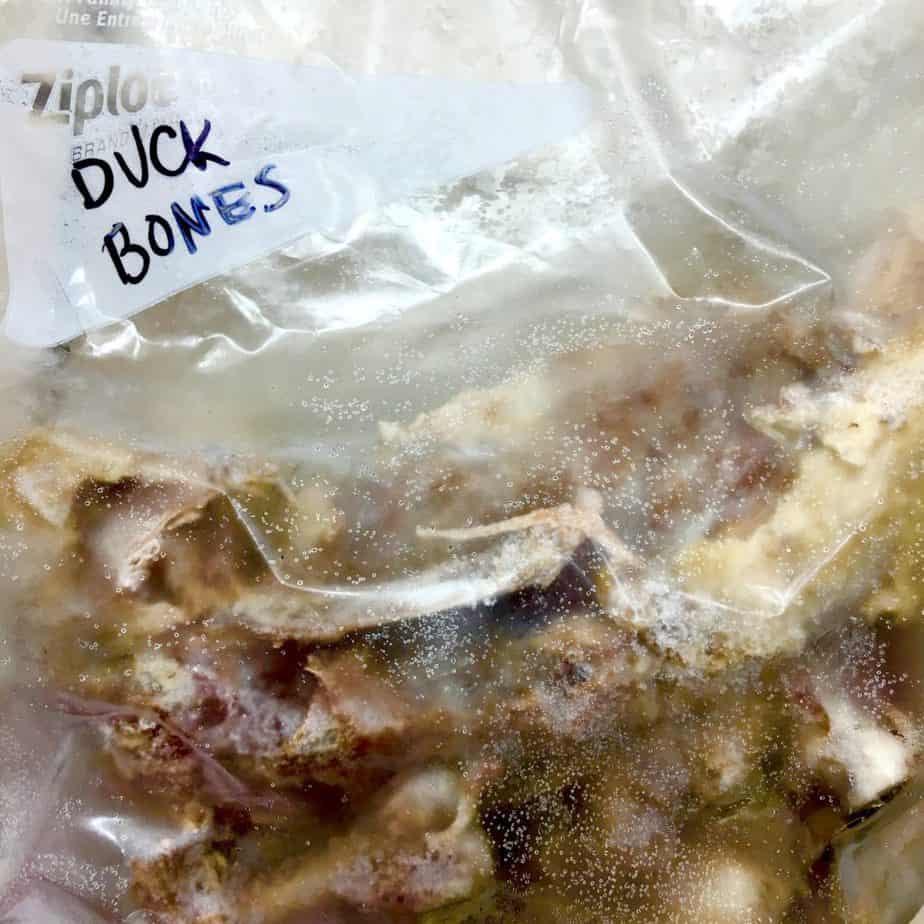
So now what I do is this… at least once a week, I make a meal with meat on the bone. Either I roast a whole chicken or a whole duck, or I’ll make lamb chops or baby back ribs or T-bone steaks.
If you can get them, it’s great to add bones that are more gelatin-rich to your broth. Remember, gelatin and collagen are the same thing. Instead of buying expensive collagen-based face creams or getting collagen injections, you can just eat your broth. The bones with the most gelatin are chicken feet, chicken heads, beef knuckle bones and marrow bones. You may have to ask your butcher for these cuts, or buy them from a local farmer at the farmer’s market.
Note: It is important to always buy organic bones from free-range or grass-fed animals. Why? Because fluoride accumulates in bone and bones from conventionally raised animals have very high levels of fluoride. Read more about the dangers of fluoride.

After we eat dinner, I save the bones, throw them into a freezer bag and store in the chest freezer. Then, when I have enough bones, whatever kind (beef, chicken, duck or pork), they go into my pressure cooker to make bone broth.
In this batch of pressure cooker bone broth, I used a combination of chicken bones, duck bones and pork bones (from baby back ribs). You need 2.5-3 pounds of bones for a 6-quart pressure cooker.
Why I Only Use The Instant Pot Pressure Cooker
I use the Instant Pot, because it is the only pressure cooker that does not have a non-stick, or Teflon, bowl. Teflon is made with nasty chemicals that make us sick.
According to the Environmental Working Group, Teflon at high heat is a recipe for disease:
Manufacturers’ labels often warn consumers to avoid high heat when cooking on Teflon. But EWG-commissioned tests conducted in 2003 showed that in just two to five minutes on a conventional stove top, cookware coated with Teflon and other non-stick surfaces could exceed temperatures at which the coating breaks apart and emits toxic particles and gases.
The Instant Pot has a stainless steel bowl so this is the only pressure cooker I recommend.

Add Vegetables and Vinegar
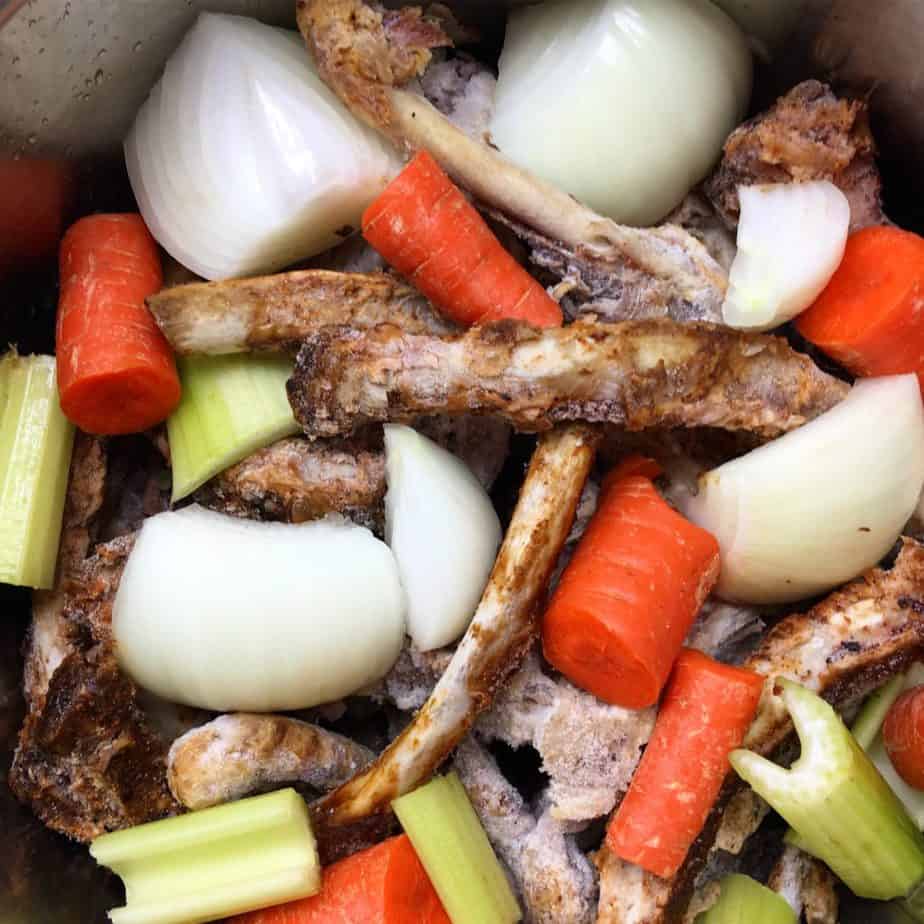
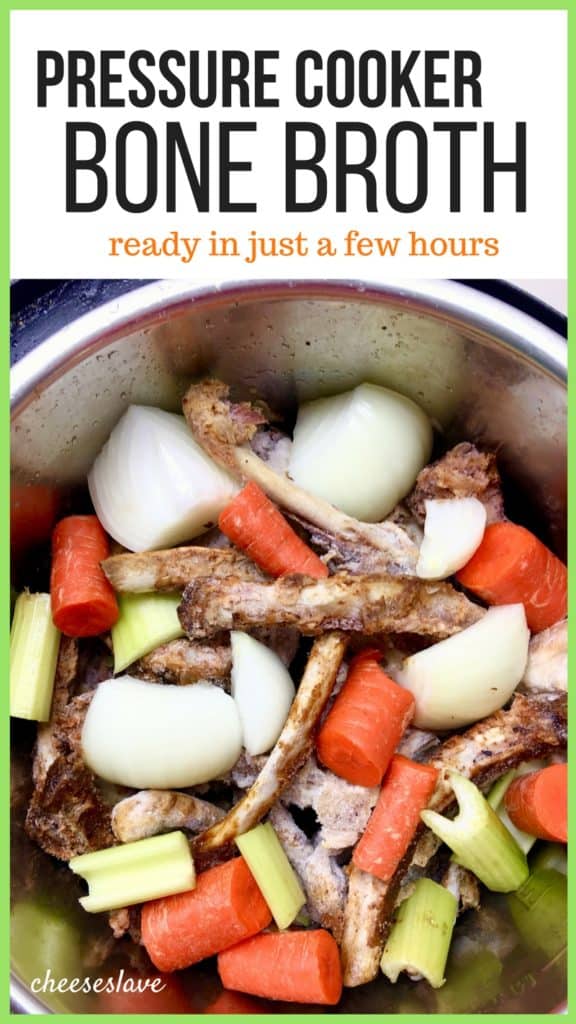
Next, add the carrots, celery and onion. Just peel the onion and cut it in quarters and cut up the carrots and celery into large pieces. You don’t need to peel the carrot. I don’t even wash anything — but I do buy organic.
If you are out of vegetables, you can make broth without the “aromatics”. Just add bones, vinegar and water.
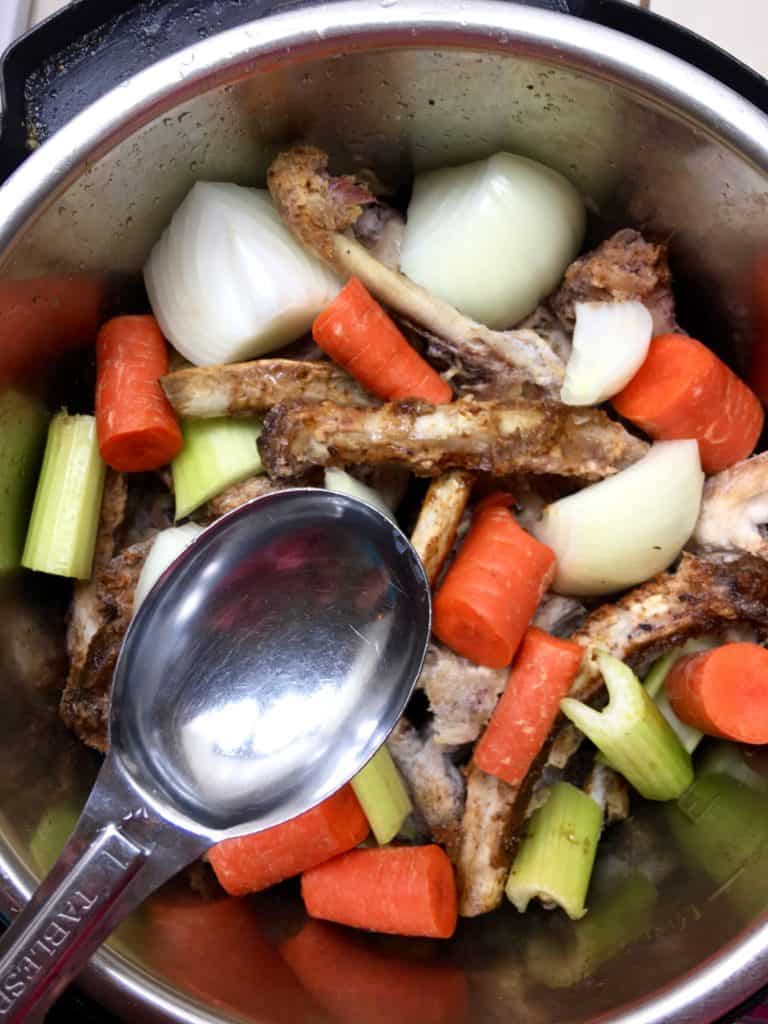
Then add a tablespoon or two of vinegar. You can use white vinegar or apple cider vinegar. If you run out, a little red or white wine will work, or plain kombucha or fresh lemon juice. You just need a splash of something acidic that will pull the minerals out of the bones and get them into the broth.
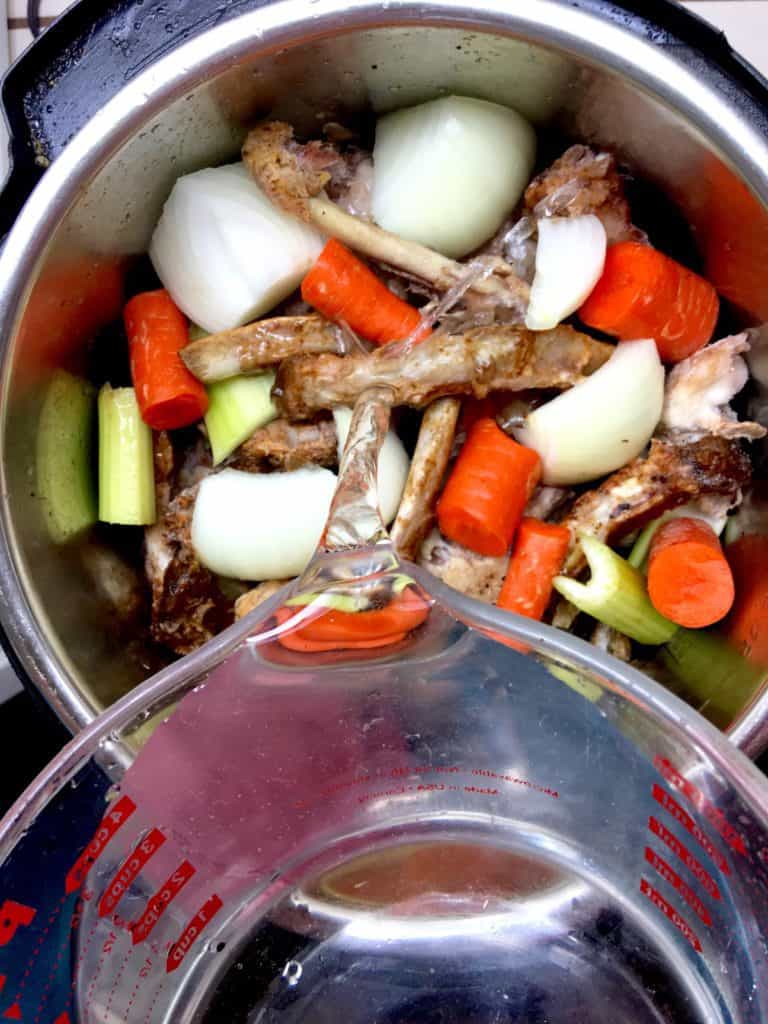
Cover the bones with filtered water. It is critical to use filtered water. If you have fluoridated water where you live, make sure you use a reverse-osmosis filter or other type of water filter that removes fluoride.
I’ll be writing a lot more about this in the future but fluoride causes all kinds of health problems, from acne to cellulite to osteoporosis to hormonal problems from cysts to hypothryroidism. Read more about the dangers of fluoride.
Cooking the Broth
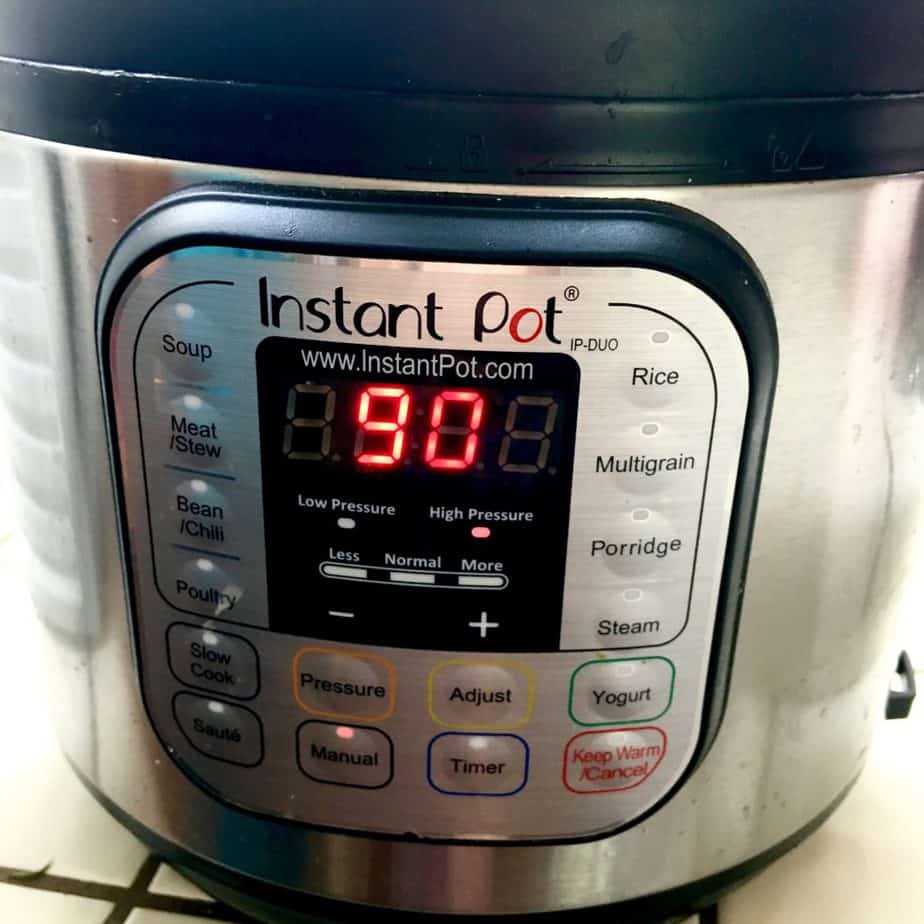
Set the Instant Pot to MANUAL and set the timer for at least 60 minutes. I set it for 90 minutes because I was in a hurry.
The bigger the bones, the longer you can let it run — you can do 1-2 hours for chicken bones, 2-6 hours for pork bones, and up to 2-8 hours for big beef and lamb bones and marrow bones.
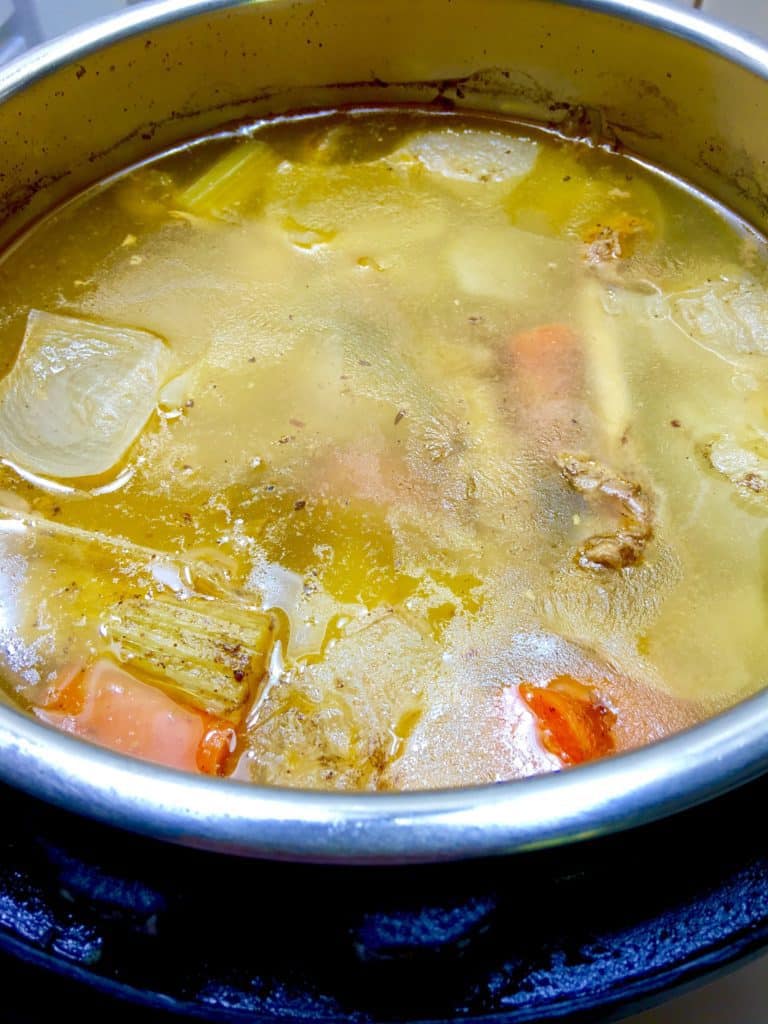
When the pressure cooker is done, it will automatically go to the KEEP WARM setting. Just release the steam if necessary and remove the lid.
Straining and Storing the Broth
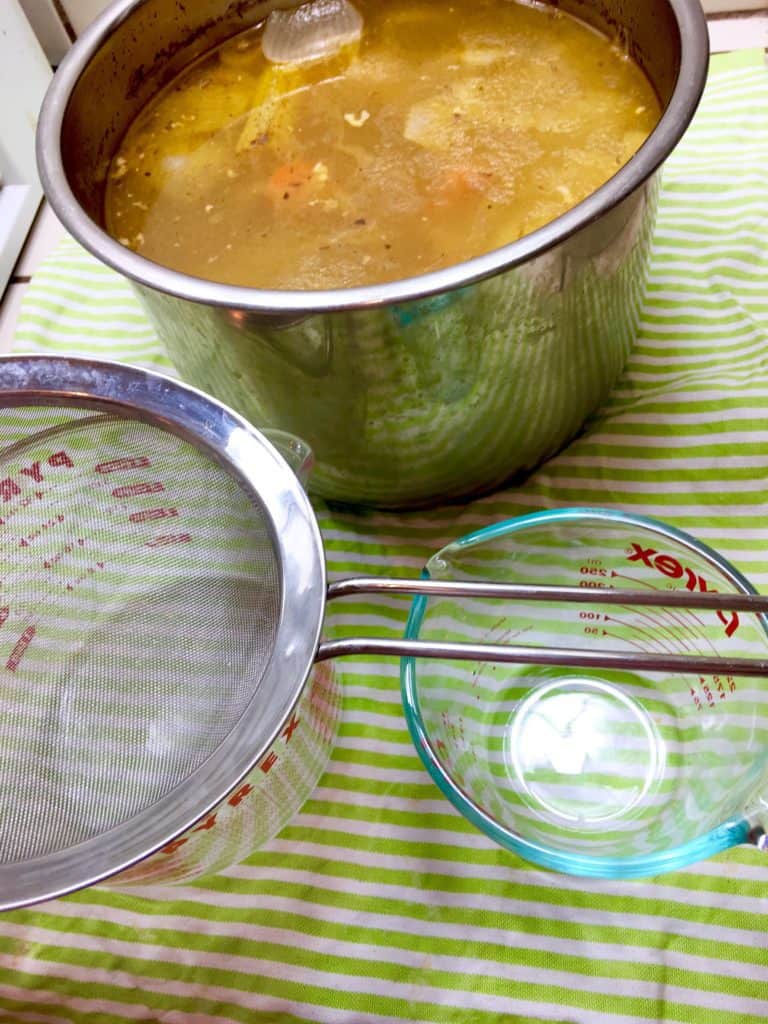
Here’s my set up. I put a dishcloth down, because this gets messy. On the left I have a large Pyrex measuring cup (1 quart, or 4 cups) and on the right I have a small Pyrex measuring cup (1 cup). Put a fine-mesh strainer over the large measuring cup, and use the small measuring cup to scoop out the bones and broth and put it into the strainer.
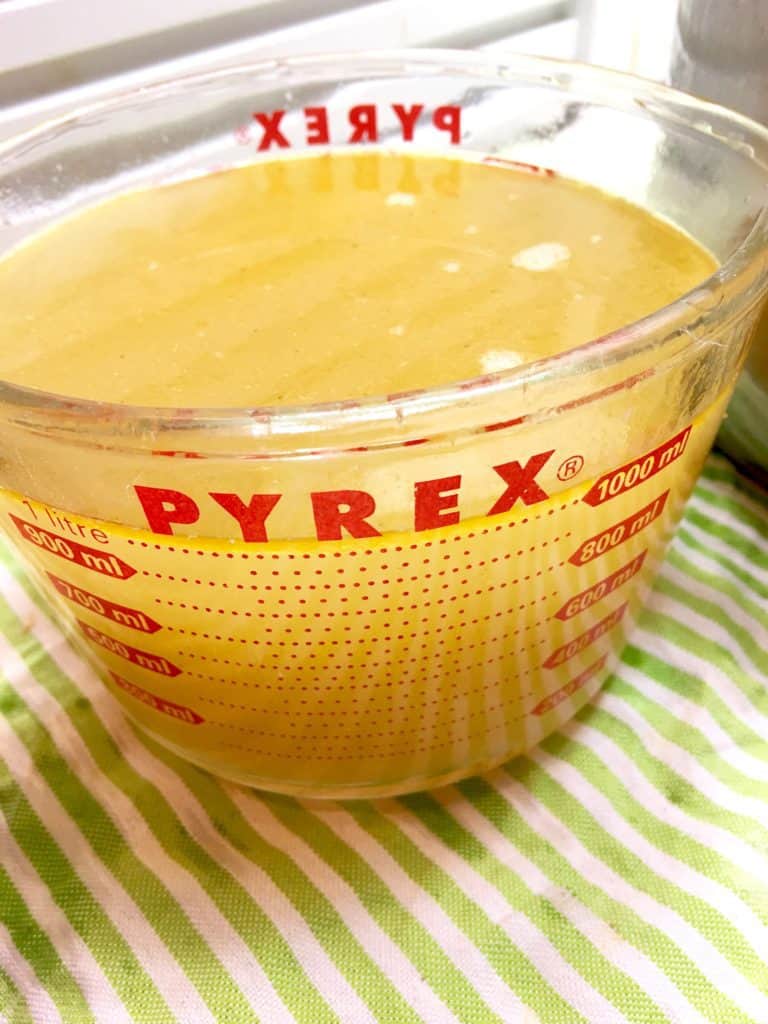
This is how it looks when you’re done. Golden magical elixir.
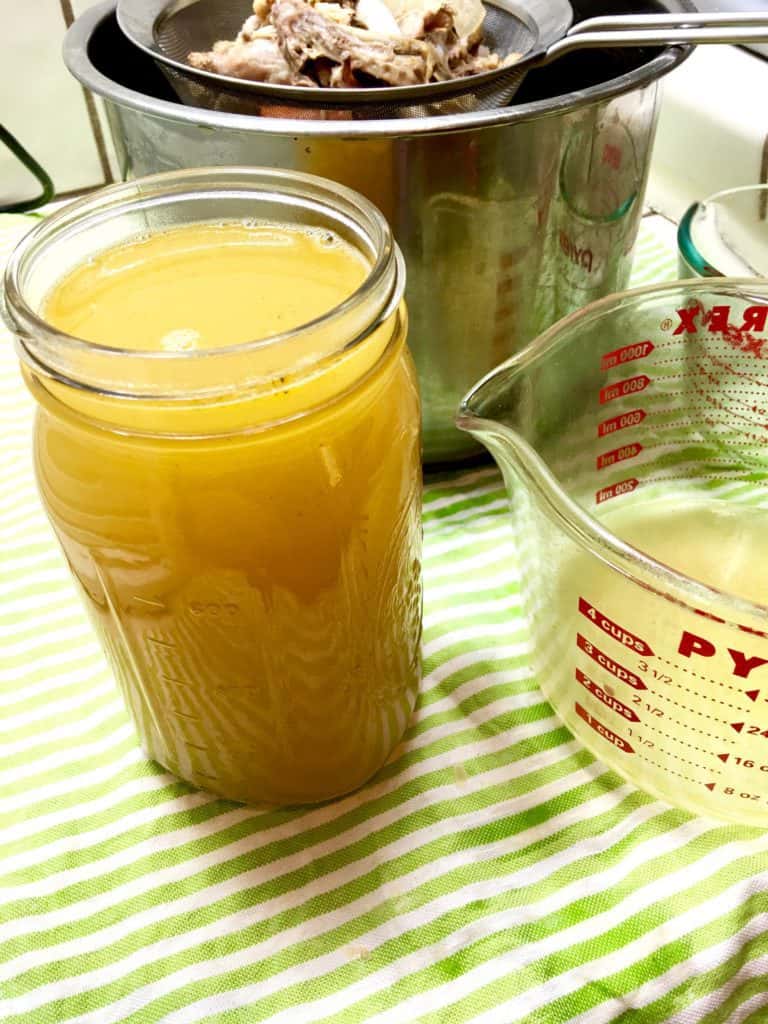
Pour the broth into mason jars (it should fit, or almost fit, into 3 quart-sized jars) let them cool on the counter, and then cover and transfer to the fridge. Let them chill for a few hours until the fat congeals on the top, then scoop the fat off before using.
Pressure Cooker Bone Broth: Recipe Notes
If using beef bones, you will get a harder, more solid fat — called tallow. If using pork bones, you’ll get lard, which is not quite as solid. If using chicken or duck bones, you’ll get schmaltz, which is not as solid.
The tallow and lard will form a nice seal which will allow you to leave the broth in the fridge for quite a long time. You can use any of these fats to cook with. Just remove and store separately.
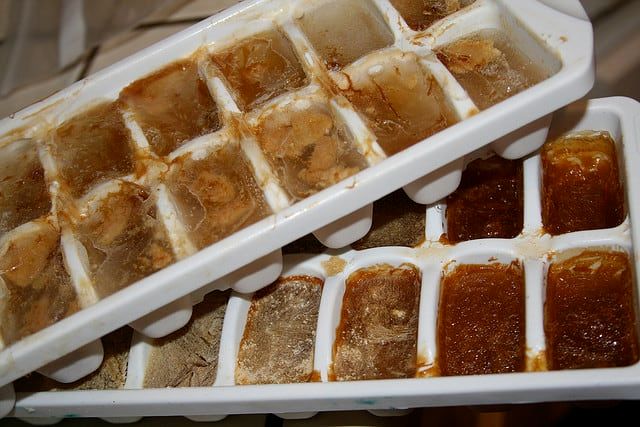
Without the fat seal, the broth will keep in the fridge for a week or two. If I don’t use mine right away, I like to pour it into ice cube trays, freeze, and then store cubes in Ziploc freezer bags in my chest freezer. It’s a very handy way to store broth since the cubes are 1 ounce each — makes it simple to measure.


Comments ()