How to Make Kefir

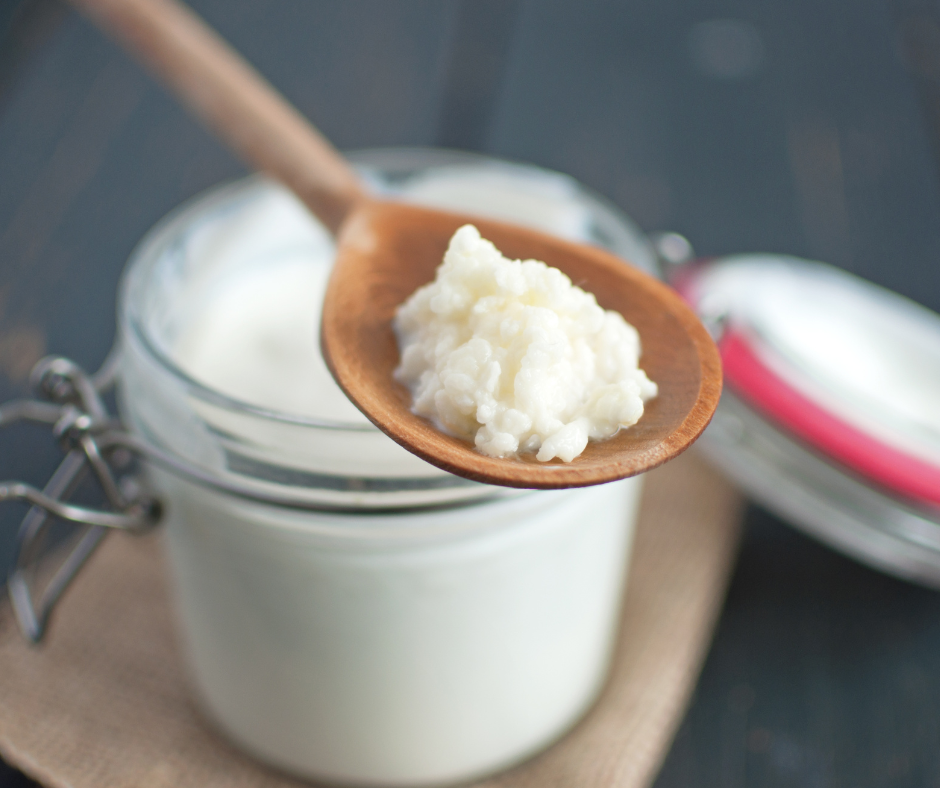
Would you like to know how to make kefir? Kefir is a delicious probiotic cultured milk drink. It’s tangy and sour tasting, kind of like a more liquid version of yogurt. But it’s so much easier to make than yogurt.
Making kefir at home is so easy. And it’s so good for you. In fact, I think kefir, especially kefir made from raw milk from grass-fed cows, is a magical drink. As a probiotic, kefir is much more powerful than yogurt.
A while back, I posted about my friend Millie whose son is recovering from Asperger’s. Yes, I said recovering. It’s not a life sentence. He is recovering via diet — GAPS/SCD (Gut and Psychology Syndrome/Specific Carbohydrate Diet) — and probiotics.
Amazingly, Millie hasn’t used any strong probiotics with her son. She just uses kefir. She feeds him kefir and also the kefir grains. I will post her protocol soon.
The other great thing about kefir is it is so inexpensive to make. This is because the kefir grains actually reproduce. So you only need to buy them once and they will last you for years and years — if you’re lucky, a lifetime!
I always give some of my kefir grains (and other ferments) to friends who live close by. That way if I ever happened to accidentally kill my grains, I could always ask a friend for some more. you can also freeze your grains or dry them for storage.
I like to drink it straight but if it’s too sour for you, you can put it in a blender and add a little fruit and maple syrup or stevia to make a kefir smoothie.
Here’s a tutorial on how to make kefir.
How to Make Kefir
Equipment Needed
Mesh strainer
Pyrex glass measuring cup (or just a mason jar)
Rubber spatula (or just a wooden spoon)
Mason jars (I like using the quart size but I’m out right now so I’ve been using 2 pint size jars)

Ingredients
1-2 tablespoons kefir grains
2 cups milk (preferably organic, raw milk from grass-fed cows)
1. Put 1-2 tablespoons of kefir grains into a clean pint-sized mason jar. (The more kefir grains you use, the faster it will culture.)
2. Add milk. Leave a half inch to an inch of room at the top. If you want a thicker kefir, add a little cream. The more cream you add, the thicker your kefir will be. I love it thick like yogurt.
3. Cover the mason jar with a lid and set it out on the counter (or in a cupboard — NOT in the fridge!) for anywhere from 12-36 hours. The kefir grains will culture the milk. It cultures faster in a warm kitchen than a cool one. You will know when it’s ready because it will start to look thick and clumpy. The longer you leave it out, the more tangy and cultured it will become. If it separates into a clear liquid and clumps, it’s REALLY ready.
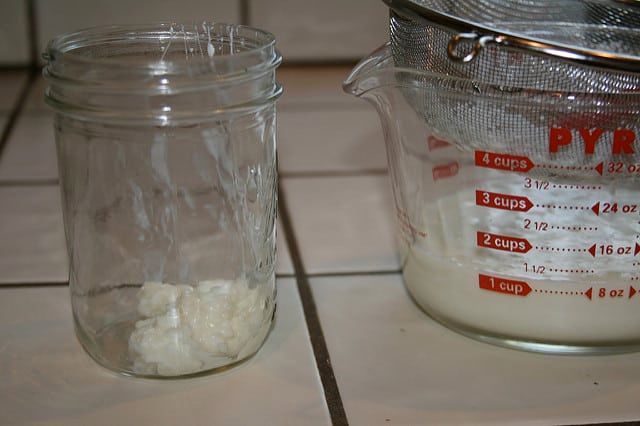
4. When it’s ready, pour the kefir out into a strainer set on top of a glass Pyrex measuring cup or a glass bowl or mason jar. It’s important to use glass or plastic. Do not use stainless steel or metal of any kind.
5. Use a rubber spatula or wooden spoon to gently stir the kefir until all the liquid passes through the mesh and you are left with kefir grains.
6. Some people like to rinse their grains. I don’t normally rinse mine. I do it every once in a while — maybe once every two to four weeks. I find that my kefir grains grow more quickly when I do not rinse them. If you do rinse them, ONLY use filtered water. Do not use tap water. It will kill them. (What does that tell you about the tap water we drink?!)
7. Now put your grains back into a clean mason jar, add some more milk and start all over again.
That’s it! I told you it was easy!
